Impelix IMPACT Integration
with Microsoft Active Directory
The Impelix IMPACT platform ingests telemetry from your all your security products as well as third-party feeds (threat intelligence, cybersecurity risk, business resilience intelligence, etc.) and delivers event correlation, security control efficacy, and compliance monitoring.
We believe that the more data ingested into IMPACT, the more context you will have regarding security incidents, which will allow effective and efficient incident response and compliance management. Therefore, we encourage and facilitate connecting vendor products telemetry with Impelix IMPACT platform.
Microsoft Active Directory
Create the APP in Azure
- https://portal.azure.com/#blade/Microsoft_AAD_RegisteredApps/ApplicationsListBlade
- Click New registration
- Name it Impelix IMPACT (Azure AD)
- Select who can use the application (access the API)
- Select Web and enter the Redirect URI as https://IMPACTIP/v1/api/azure_auth (Note: replace IMPACTIP with the IP address or FQDN of your IMPACT appliance)
- Click “Register”
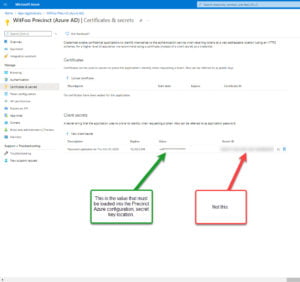
- Under Certificates & secrets click New client secret (give it a description and expiration, then click Add)
- Save the Secret ID
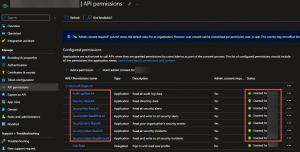
- Go to API permissions.
- Click on Microsoft Graph, Application Permissions, and add the following:
- Auditlog: Auditlog.Read.All
- SecurityEvents: SecurityEvents.Read.All
- Directory: Directory.Read.All
- Click Update permissions (Making sure the status shows each permission is granted for your organization)
Impelix IMPACT Configuration
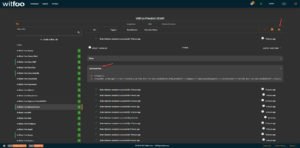
- Go to Admin > SOAR > Azure Active Directory > Config
- Click the checkbox for Enable Azure AD Log Integration
- Paste the Application (client) ID, Secret key and Tenant ID
- NOTE: Tenant ID can be found by navigating to Azure Portal > Azure Active Directory > Properties
- Click the disk icon (Save)
- Click Jobs and go to Artifacts from Microsoft Azure
- Select Triggers, expanding Manual Trigger and Interval Trigger
- Toggle both to State: ENABLED
- The Interval Trigger is set to 2 hours by default, but you can update it to what best suits your organization. (Recommended: 5 minutes)
- Click the disk icon (Save)
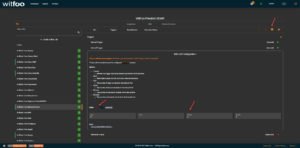
Testing the Configuration
While still in Jobs > Artifacts from Microsoft Azure
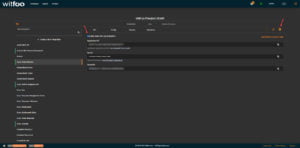
- Click the “paper airplane” to execute the Manual Trigger
- Go to Execution History
- Within a couple of minutes, you should see “State Machine completed successfully just now”
- Failure – Will be indicated by a message pop-up displaying fail code
- Fail code can also be seen by expanding the line in Execution History, expanding Job Result Data
